Thinking Asphalt? Think Again.
When it comes down to the wire, sometimes the smallest decisions are the most critical. We know you have options for your sports surface needs, but we want you to feel confident that our work will leave you with no regrets, and more importantly, no cracks. The boom in post-tension concrete over recent years has made it even more critical to choose an experienced partner who specializes in this complex technology. At Classic Turf, post tension concrete is ALL we do. Our state-of-the-art courts and tracks have delivered ultimate performance and near bulletproof durability for some of the world’s most prestigious sports programs, as well as the most enthusiastic home players.
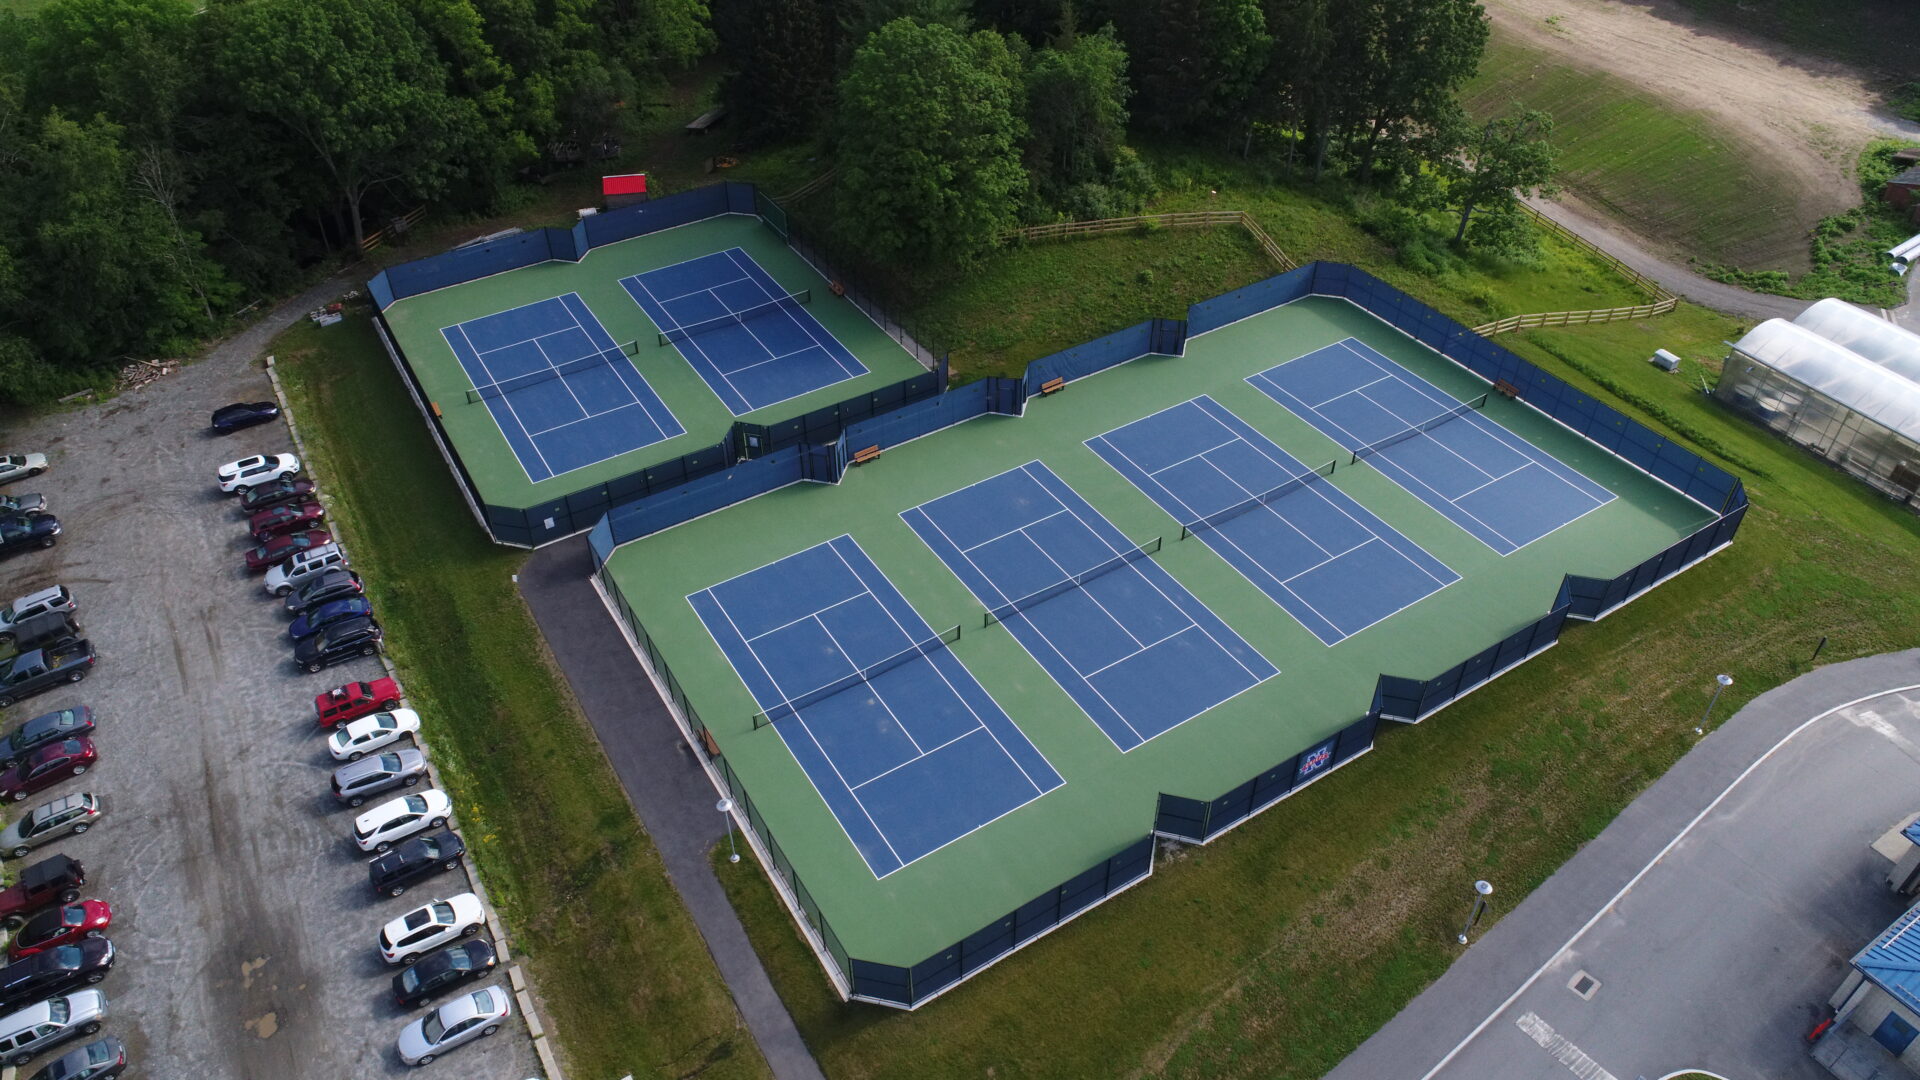
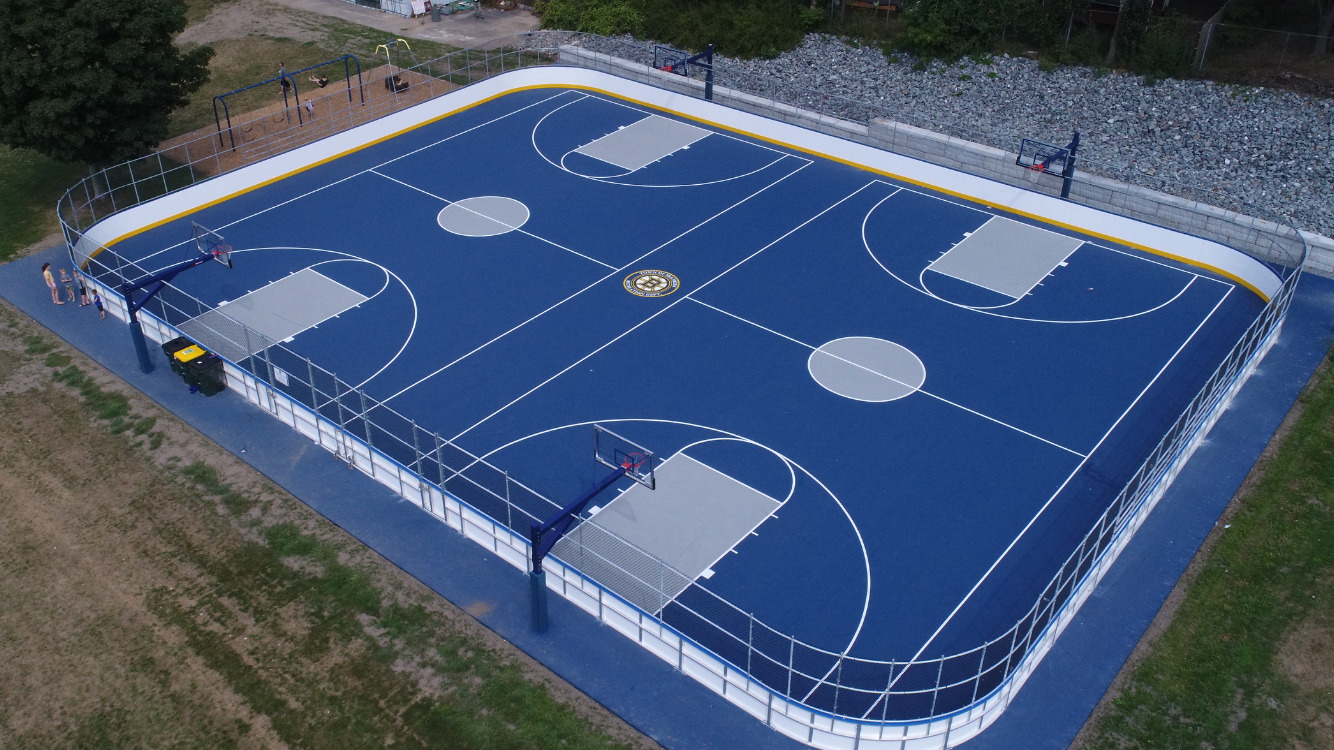
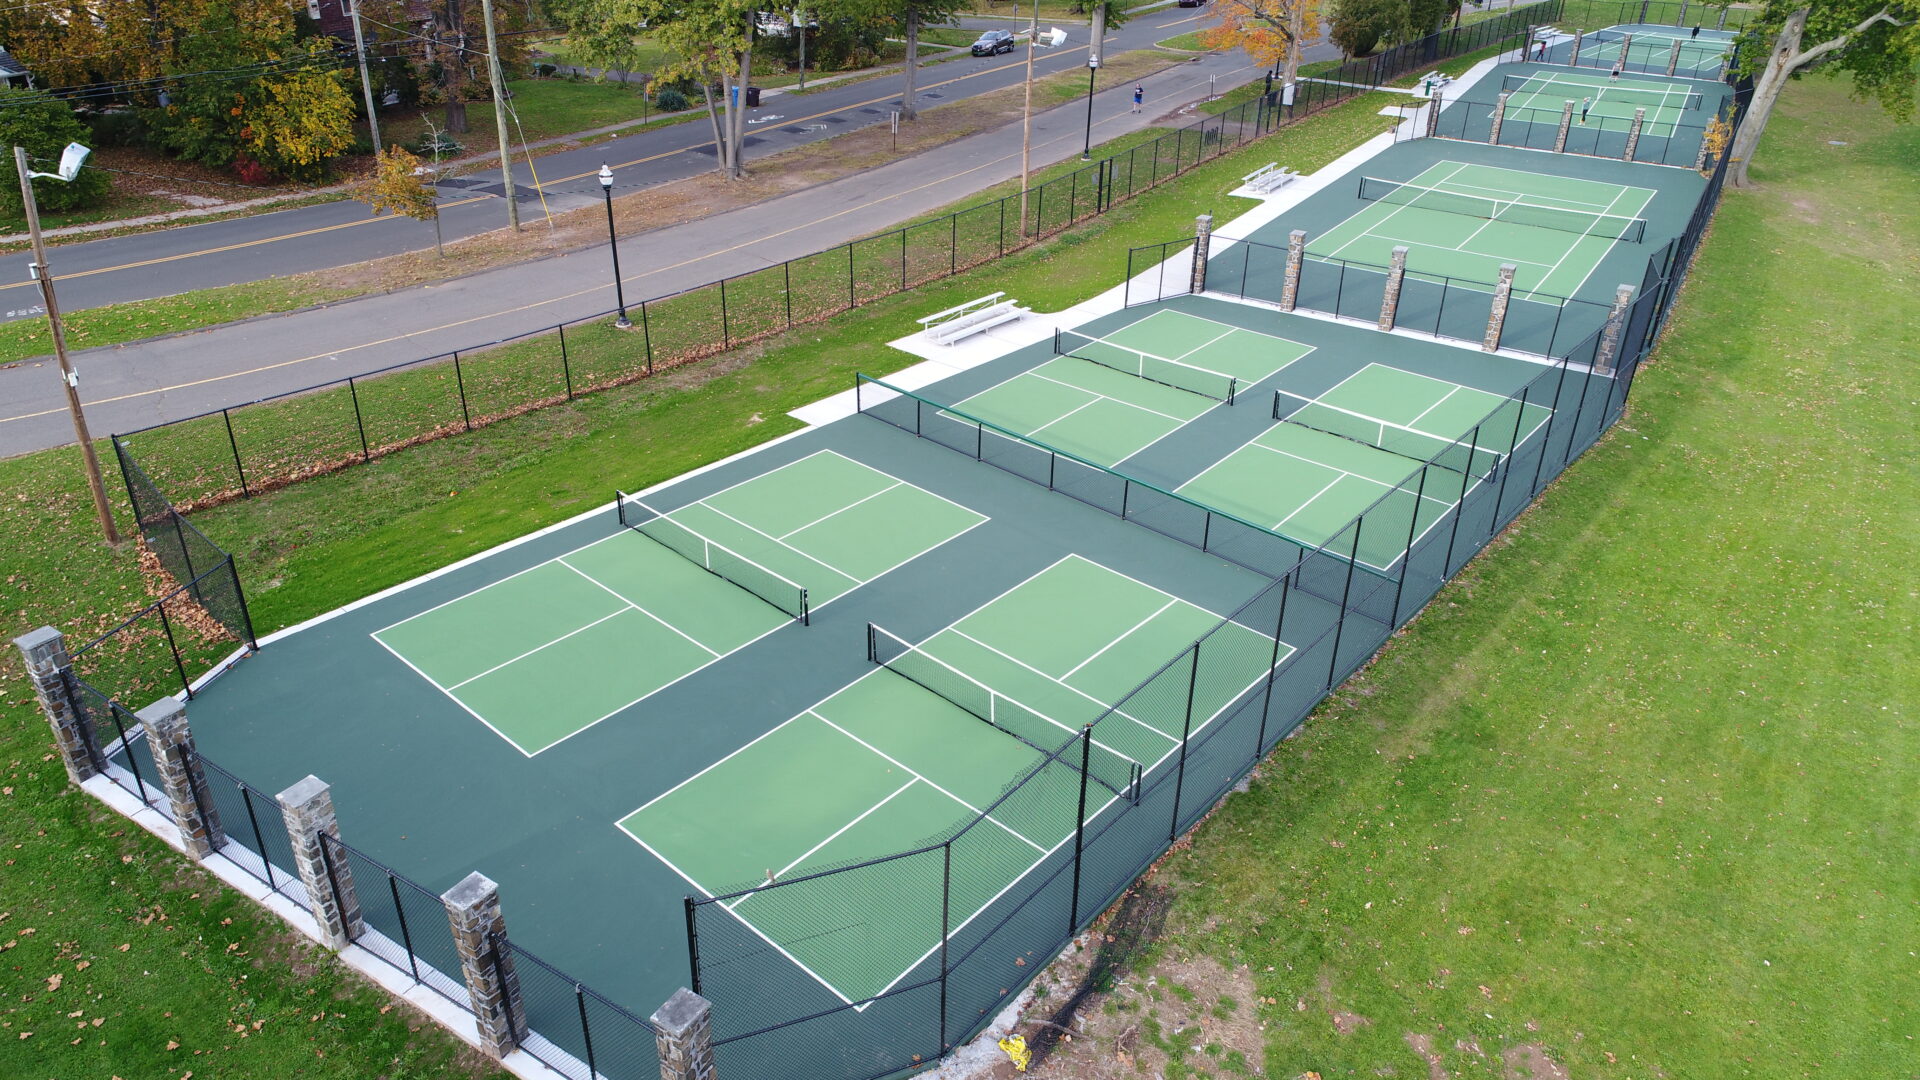
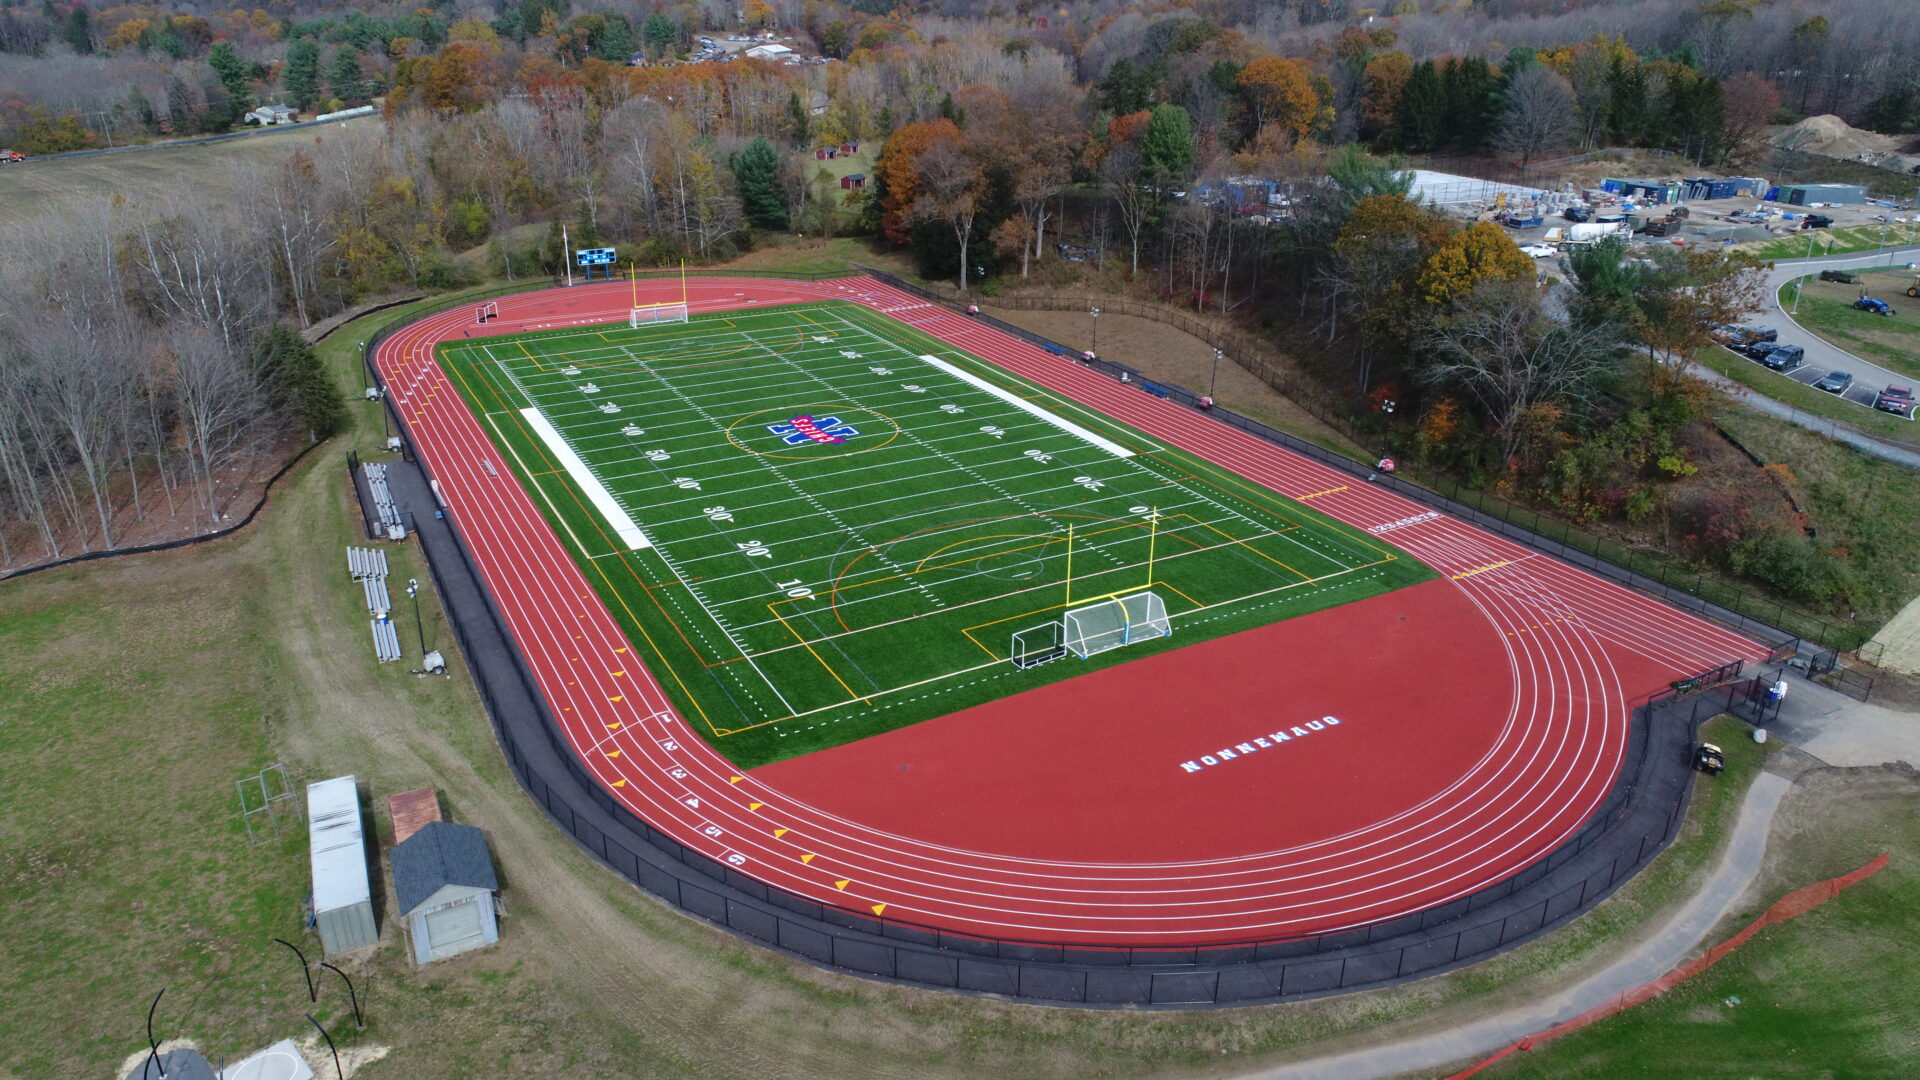
Explore Our Projects
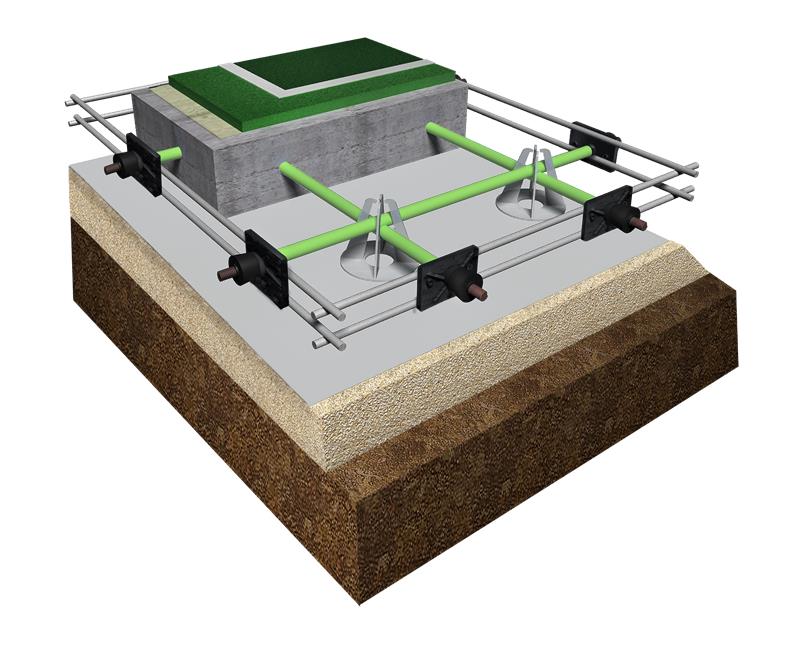
The Post Tension Difference
We focus primarily on post tension concrete because, quite simply, it’s the best. It’s highly durable and requires minimal maintenance, making it the most cost-effective option over the long term. And when combined with our patented, comfortable, all-weather sports surface, our clients and players enjoy the ultimate sports surface.
Post tension concrete provides the only long term value for the following reasons:
- 50-year Structural warranty
- Ability to span unstable soils

- Increased resistance to settling and/or heaving
- Eliminates cold joints around net posts and fence posts
- Creates more controlled slope for drainage
- Eliminates the potential liability from structural cracking
- Enables reconstruction over existing courts without any major excavation or transporting of material
- Creates stable and attractive edge
Frequently Asked Questions
Get answers to common questions about our Post TensionLet's Get Started
With 40 years of experience, it is our passion and mission to guide you to the best possible game plan. We work from coast to coast to achieve all of your sports surface dreams. Reach out now to speak with a specialist, and put the ball in our court. Game on.